


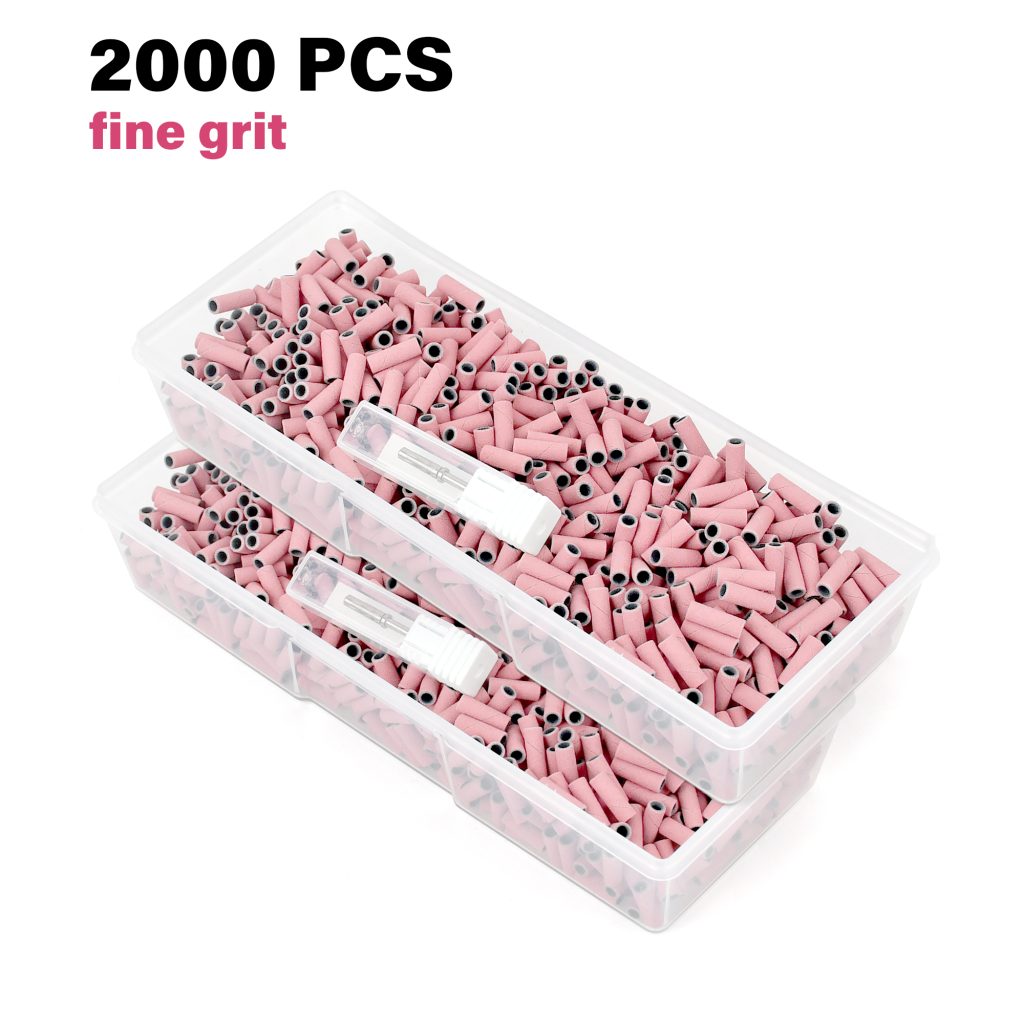
Sanding bands are small abrasive sleeves that fit onto a mandrel bit for an electric nail file. They are one of the most practical tools in modern nail care, but they are also easy to misuse. In 2026, the best sanding bands are not defined by brand alone. They are defined by consistent grit, durable abrasive material, a secure fit, and compatibility with your e-file. Choosing and using them correctly can transform your manicure routine. Using them poorly can damage the natural nail.
Here is a complete guide to judging quality, understanding the advantages, applying them safely, and selecting the right grit for your needs.
What Makes a Sanding Band Good in 2026?
A high-quality sanding band has several key characteristics.
Consistent grit. The abrasive particles should be evenly distributed. Cheap bands often have uneven grit, which causes vibration, skipping, and uneven filing. A good band cuts smoothly and predictably from the first second to the last.
Durable abrasive. The abrasive should last through a full service without wearing out. Low-quality bands lose their grit quickly and become smooth. When a band stops cutting, it generates heat and reduces efficiency.
Secure fit. The band must fit snugly on the mandrel without slipping or wobbling. A loose band reduces control and can fly off during use. A secure fit ensures smooth rotation and precise work.
Correct diameter. Standard sanding bands are about 12–13mm wide. Mini bands are about 8–9mm wide. Mini bands are better for cuticle detail, sidewalls, and small nail beds. Standard bands are better for bulk removal on larger surfaces.
Compatibility. Most sanding bands fit a 3/32-inch (2.35mm) mandrel, the industry standard. Always check compatibility before buying. Some bands are designed for larger mandrels and will not fit standard handpieces.
Good packaging. Quality bands come sealed or in a clean storage container. Dust and moisture degrade abrasives over time. Proper packaging keeps them fresh.
Reliable brand reputation. In 2026, the best bands come from brands known for consistency. Reviews from technicians help you avoid products that shed abrasive material or break easily.
Why Sanding Bands Beat Files and Blocks?
Compared with traditional nail files and sanding blocks, sanding bands offer clear advantages.
Speed. An e-file with a sanding band removes material far faster than manual filing. This saves time and reduces hand fatigue during long sessions.
Precision. Sanding bands, especially mini bands, reach tight areas that files and blocks cannot. They allow you to clean sidewalls, refine the cuticle area, and shape small nails without touching the skin.
Consistency. Manual filing depends on pressure and angle. A sanding band provides consistent abrasion when used at the correct speed and with light pressure.
Hygiene. Sanding bands are disposable. You use one per client or per session and discard it. This eliminates cross-contamination. Files and blocks are reusable and can harbour bacteria if not properly cleaned.
Versatility. A single mandrel and a set of bands in different grits can replace several files and buffers. You can switch from heavy removal to fine finishing by changing the band.
Less dust and mess. Many e-files are used with dust extraction, which reduces airborne particles. Manual filing spreads dust everywhere.
How to Use Sanding Bands in a Manicure?
Using sanding bands safely comes down to grit, speed, pressure, and technique.
Choose the right grit. For natural nails, use fine or extra-fine grit—180 to 240. For gel polish removal, use medium grit—120 to 150. For heavy product removal on acrylics or hard gels, use coarse grit—80 to 100. Never use coarse grit on natural nails.
Set the correct speed. For natural nail prep and cuticle work, use low speed—around 5,000 to 10,000 RPM. For gel removal, you can go slightly higher, but start low. High speed with light pressure is safer than low speed with heavy pressure.
Use light pressure. Let the band do the work. Pressing down creates friction, heat, and removes too much material. Glide the band across the surface. Do not dig in.
Keep the band moving. Never hold the band in one spot for more than a second. Move it in smooth, overlapping strokes. This prevents heat spikes, grooves, and thinning of the nail plate.
Hold the band flat. For surface work, keep the band parallel to the nail plate. For sidewall work, angle it slightly so the side of the band contacts the area you want to clean. Do not use the tip to dig into the nail.
Work in one direction. Use gentle strokes from cuticle to free edge, or from sidewall to centre. Avoid sawing back and forth.
Replace bands often. Sanding bands are single-use. Once the abrasive wears down, it becomes less effective and generates more heat. Discard after each client or when the band feels smooth.
Can Sanding Bands Damage Nails?
Yes, if used incorrectly. Sanding bands can damage nails when the wrong grit is used, when too much pressure is applied, when the band is held in one spot, or when the speed is too high.
Coarse grit on natural nails can thin the nail plate, create deep grooves, and cause permanent damage. Heavy pressure generates heat that can burn the nail bed. Holding the band in one spot creates “rings of fire”—deep circular grooves that take months to grow out.
When used correctly, sanding bands are safe. Use fine grit on natural nails. Keep speed low. Use light pressure. Keep the band moving. Stop if the client feels heat or pain. With proper technique, sanding bands are gentle and effective.
How to Choose the Right Grit?
Grit is the number that indicates how coarse or fine the abrasive is. Lower numbers are coarser; higher numbers are finer.
Coarse (80–100 grit). For heavy removal of acrylics, hard gels, and thick product. Never use on natural nails.
Medium (120–150 grit). For removing gel polish, refining acrylic shapes, and general surface work. Can touch natural nails with very low speed and light pressure.
Fine (180–240 grit). For natural nail prep, smoothing builder gel, and finishing surfaces. Safe for natural nails.
Extra fine (240+ grit). For gentle final smoothing, polishing, and delicate prep before gel application. The safest choice for natural nails.
The Bottom Line
The best sanding bands in 2026 are consistent, durable, secure, and compatible with your e-file. They outperform files and blocks in speed, precision, hygiene, and versatility. Use them with the correct grit, low speed, light pressure, and constant motion. Never use coarse grit on natural nails. Replace bands often. With proper technique, sanding bands are a safe and essential tool for professional manicures and pedicures. Choose the right grit for the task, and your nails will stay healthy while your results look flawless.
Read also: The Complete Guide to Brittle Nails: Causes, Solutions, and Prevention