


If you’ve been scrolling through nail inspiration photos or reading beauty articles, you’ve probably come across the term “builder gel” (often called BIAB™ – Builder in a Bottle). But what exactly is it, and could you benefit from it? If you have short, weak, or peeling nails that never seem to hold color without chipping, builder gel just might change your nail care game.
What Is Builder Gel?
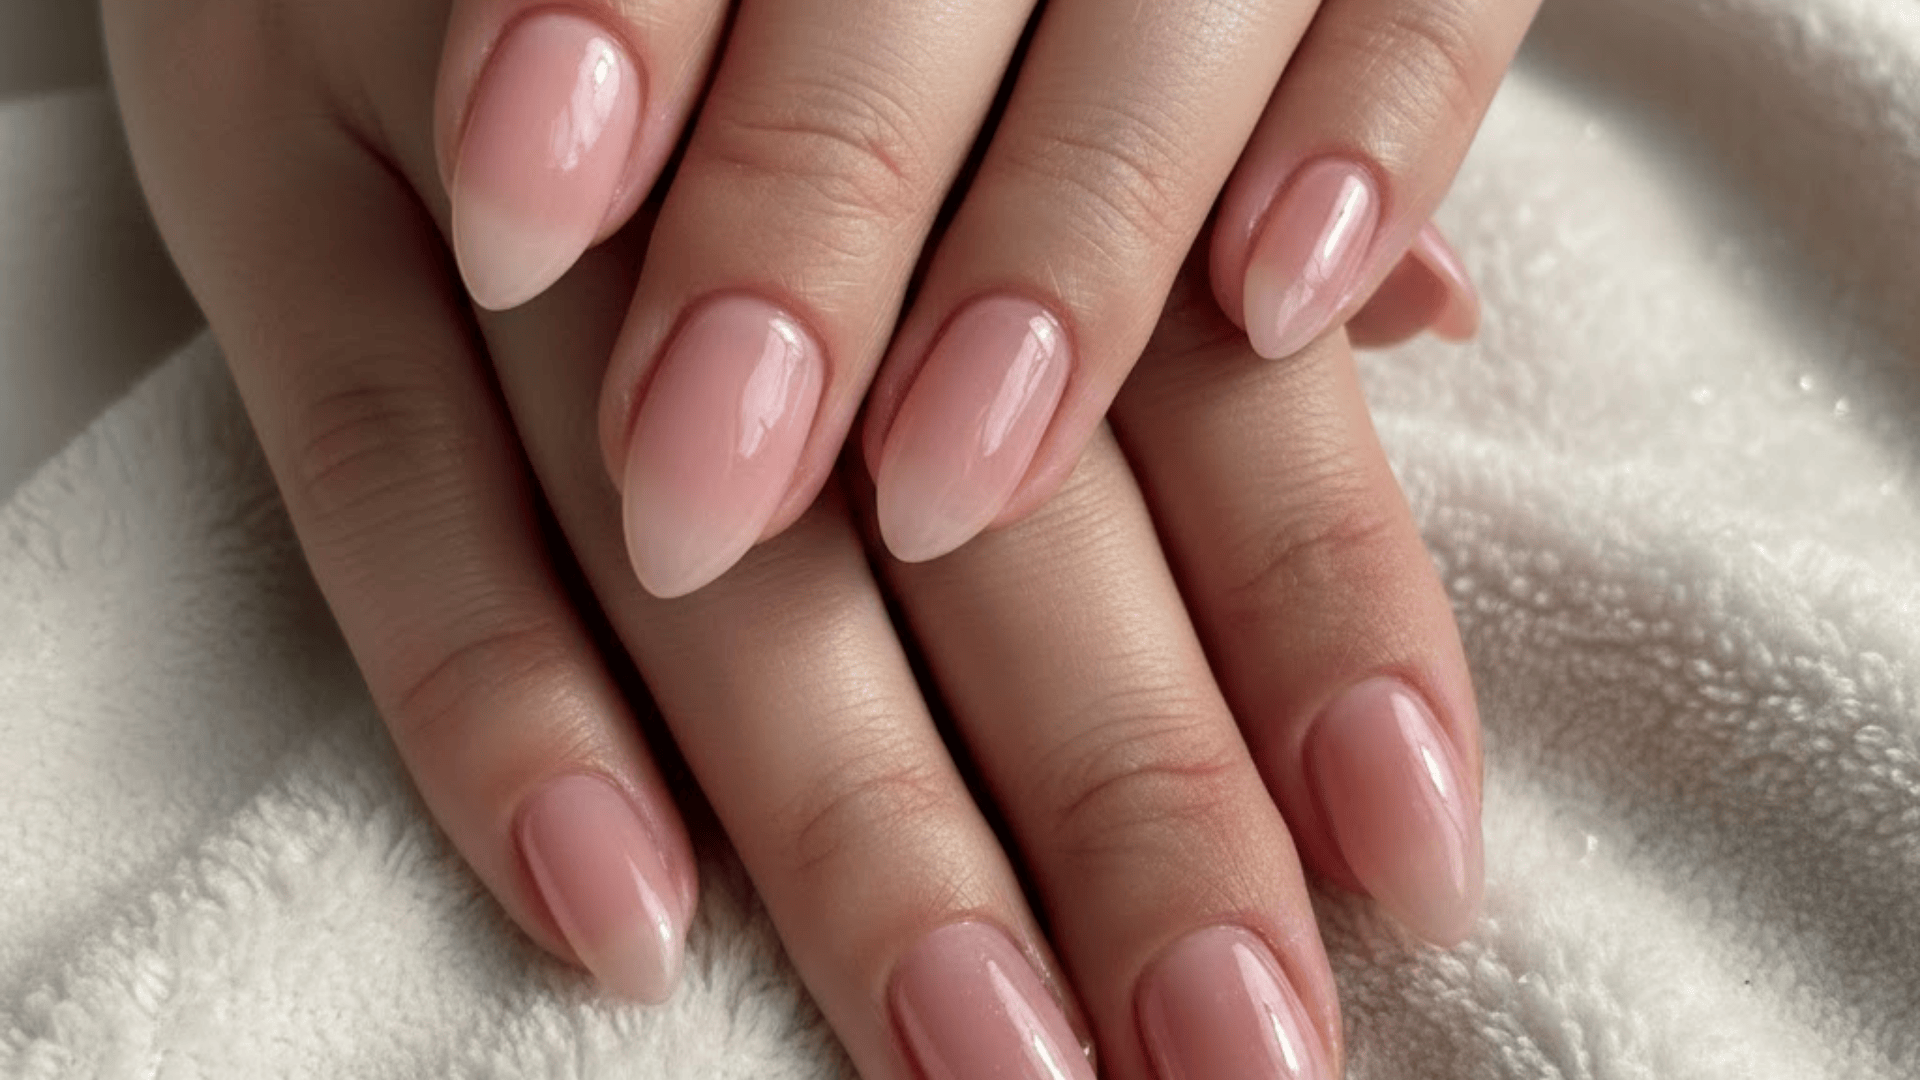
Builder gel is a type of gel enhancement with a much thicker consistency than standard gel polish. It’s a durable polymer designed to add strength, structure, and subtle length directly to your natural nails without immediately turning to heavy acrylics or hard gels.
Unlike regular gel polish, which is thin and mainly for color, builder gels have a higher viscosity (meaning they’re less runny and easier to sculpt). They are applied like polish but cure under a UV/LED lamp to form a strong, semi-flexible layer that reinforces the natural nail plate. Once applied, builder gel can even be filed and shaped just like an acrylic extension would be.
Main Advantages of Builder Gel
Builder gels have become a game-changer for people who want salon-worthy nails without the damage or prolonged salon visits.
- Strength and Durability: Builder gel acts like protective armor for your nails, reinforcing the natural plate to minimize bending, snapping or cracking. A properly applied application can last up to 4 weeks without chipping.
- Subtle Length and Support: You don’t need tips or heavy forms to get a little extra length. Builder gel strengthens the natural nail enough to help you grow out short, weak, or peeling nails totally on your own.
- Lightweight and Natural Feel: Builder gel feels much lighter and more flexible than hard gels or acrylics, so it’s comfortable for daily tasks and won’t pop off as easily.
- Versatility: Use it as a reinforcement overlay on natural nails, a base for gel polish, a tool to fill ridges, or even to repair minor breaks.
- Smooth and Glossy Finish: Builder gell offers a glossy, professional finish that self-levels to create a perfect, even apex on the nail.
Common Types of Builder Gel
Understanding the different types of builder gels is key to getting the perfect results for your nail type.
- Hard Builder Gel: Also known as traditional hard gel, this is rigid and very durable, making it ideal for longer nail extensions (coffin, almond, or stiletto shapes) or clients who are extremely rough on their hands. Unlike soak-off gels, hard builder gel must be filed off and cannot be soaked in acetone.
- Soft Builder Gel (Soak-off): This type is designed to be removed with acetone soaks, making it much gentler on the natural nail bed. It offers excellent adhesion but maintains moderate flexibility, which is perfect for medium-length natural nail overlays and preventing stress breaks.
- Rubber Builder Gel: This is a more flexible version that moves with the natural nail plate, making it a great choice for anyone with thin, weak, or soft nails that are prone to snapping. It also works well for nail biters who are just starting their growth journey.
- Liquid Builder Gel (BIAB): Sometimes called Builder in a Bottle, this formula is thinner and designed for easy brush-on application. It is highly beginner-friendly because it holds its shape and self-levels for a smooth finish with minimal manual filing.
How to Use Builder Gel?
1. Prep Your Natural Nails: Proper prep is the make-or-break step to prevent lifting. Start with clean, dry hands. Gently push back your cuticles. Gently buff the nail plate to remove the natural shine and create a gritty texture for the gel to grip. Wipe the nail thoroughly with a nail cleanser or rubbing alcohol to remove all dust and oil, then apply a primer.
2. Apply the Base: You must start with a gel base coat if your builder gel doesn’t have one built-in. Cap the free edge of the nail. Cure under your UV/LED lamp.
3. Apply the Builder Gel: Using your brush, apply a very thin “slip layer” of the builder gel and do not cure yet. Quickly pick up a bead of product and float it over the nail, focusing the thicker amount in the center (this is the apex, which provides the strength). Use a fine brush to pull the product gently toward the sidewalls, staying about 1mm away from your skin.
4. Cure: Work on one to two nails at a time. Cure the gel under your lamp for the recommended time (usually 60 seconds for LED). If it burns, try “pulse curing” – curing for 5–10 second intervals.
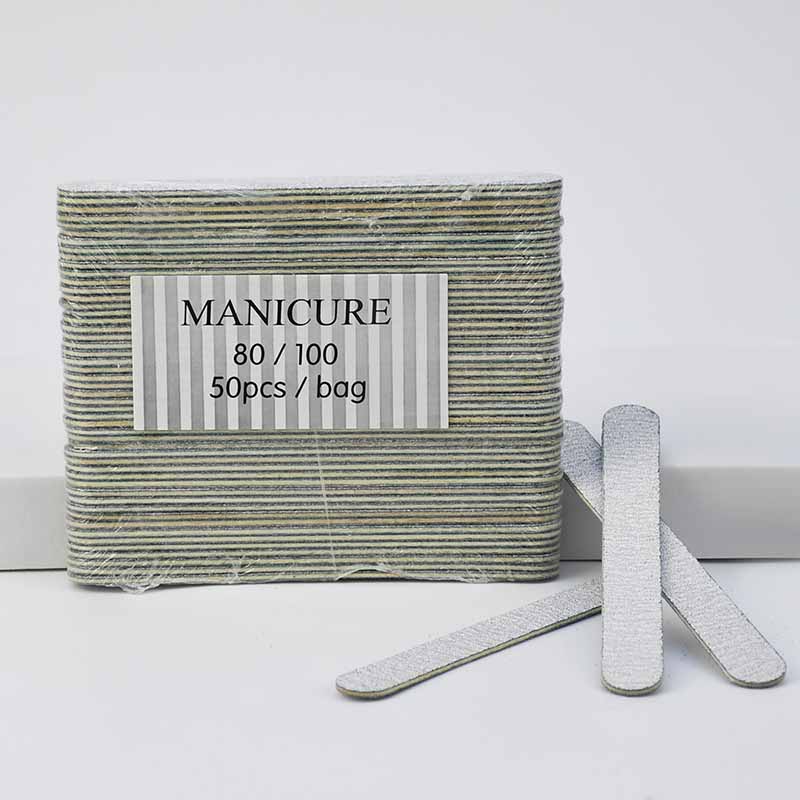
5. File and Finish: Wipe off the tacky inhibition layer. Use a 180-grit nail file to refine the shape and smooth the surface. Apply a gel top coat, cure it, and then wipe again if necessary. Finish by massaging cuticle oil into the skin.
Is Builder Gel Right for You?
Builder gel isn’t just an alternative to heavy salon acrylics. It’s a multi-purpose tool ideal for anyone who struggles to maintain neat, long nails.
- You might want builder gel if… you have short or soft nails that break easily; your natural nails peel, chip, or are ridged; you want to add a bit of length without acrylics; you type a lot or work heavily with your hands; or you want a manicure that specifically helps your nails grow healthier over time.
- You might prefer an alternative if… you are very sensitive to light or heat during lamp curing; you want to change your nail shape and color frequently (builder gel requires more maintenance to remove or infill); or you have existing serious nail damage or fungal health issues.
Builder gel has become the modern go-to for anyone who wants strong, natural-looking nails with long-lasting color. With the right preparation and application, it delivers the durability of acrylics in a lighter, more versatile package that can actually help your nails grow healthier over time.
Got questions about builder gel or picking the right formula for your nail type? Drop them in the comments – I’d love to help you find your perfect match!
Read also: How to Read Your Nails: A Map to Health and Strength